raph all you can know blog
  • December : 1 : 2012 - International Eat a Red Apple Day
  • December : 3 : 2012 - National Roof over Your Head Day
  • December : 13 : 2012 - InterNational Ice cream day
  • December : 16 : 2012 - InterNational Chocolate Covered Anything Day
  • December : 21 : 2012 - End of the world according to the Maya calendar
  • December : 31 : 2012 - International Make Up Your Mind Day
  • January : 2013 - International Bath safety month
  • January : 3 : 2013 - International day of Humiliation
  • January : 6 : 2013 - International Cuddle Up Day
  • January : 19 : 2013 - International popcorn day
  • January : 21 : 2013 - International Squirrel Appreciation Day
  • January : 24 : 2013 - Beer Can Appreciation Day
  • Febuary : 24 : 2013 - International Don't Cry over Spilled Milk Day
  • February : 27 : 2013 - International no brainers day
  • Marche : 4 : 2013 - Hug a GI Day
  • Marche : 31 : 2013 - International tool worship day

Featured articles

en Haiti

Découvrir un autre monde, en passant par Haïti Read More ...

raph all you can know blog

Why study in Mechanical Engineering today? I taught it be great if you could learn a bit about myself since very few of you, blog readers, know me Read More ...

raph all you can know blog

'' Getting a better price than the cheapest macbook air price is possible'' Yes you can get a free macbook air! Discover how I managed to get a free Macbook air on behalf of Read More ...

'' The only advice I can give you is be aware of transactions you make via internet and always remain skeptical '' Amazon Seller scam from Nigeria is Read More ...

Showing posts with label Tutorials. Show all posts

Saturday, November 2, 2013

How to replace Jetta MK4 Table bushings and ball joint


       Have you experienced steering wheel vibration, braking vibration, experienced pull when braking or accelerating, experienced sudden brake and steer when passing over a puddle hole, have you noticed uneven wear on your tires. If you have noticed one or the other of these troubleshooting symptoms your lower front Table bushings or back table bushings or tie rodes, or ball joint might have just passed away.

Trouble shooting worn table bushing is quite simple, jack up the car and try juggling the wheel back and forth, front and back, left to right, there should't be any play, if there is any play, you might have a worn out suspension component. They will require further visual inspection to see if a ball joint is torn or has too much play or to see if your bushings are torn.

Changing bushings is quit simple as you will see in this simple step by step tutorial. I have added steps explaining how to change ball joints because mine was worn out but yours might not be.

1.  First thing first, jack up the car.


2.  Secure the car with jack stands


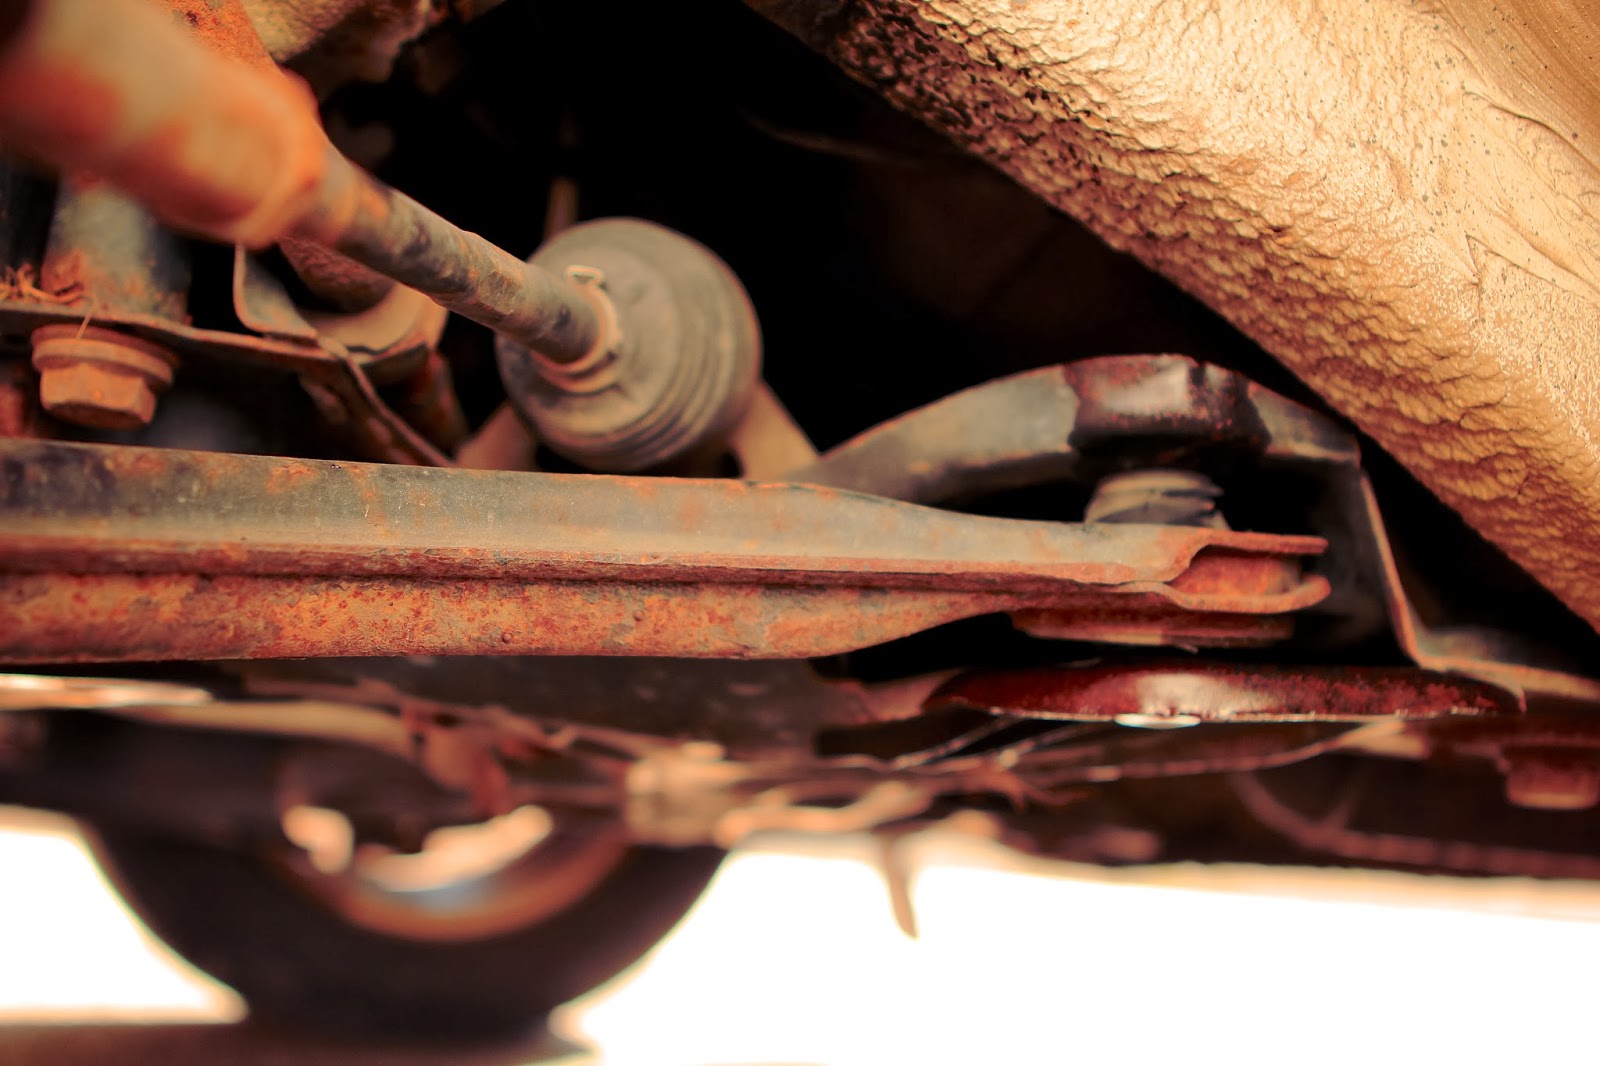
3. Remove tire and make visual inspection of ball joint and front and back table bushings


4. Remove controle bar linkage by  removing bolt, before removing, use jack to release control arm tension, place jack underneath ball joint, just behind brake disk.


5. Remove front suspension table bolt


6. Unscrew and remove back suspension table bolt


7. If you want to swap ball joint with new ones, don't bother,  remove lower ball joint bolts, **If you want to fit them back in, here is an awesome trick, paint the suspension table and ball joint lower bolts so you could put bolts back at there exact location when you reassemble therefore minimizing risks of needing to aligning car in Garage.


8. Remove upper ball joint bolt necessary tools such as a ball joint fork to release ball joint, might make the job much easier. (not necessary if not changing ball joints)


9.  To remove suspension table with ease, rotate table towards back of the car and pull, it should come out easily with this simple trick


10. Remove the old bushings from the cavities


11. Remove inside metal bushing housing, I used a metal saw, a flat screw driver and a hammer. clean surface afterwards with soft sand paper.


12.  Remove second bushing, I used heat, never the less, this one isn't easy, a hydraulic press would certainly make the job much easier.


13. Install the new bushings, I used two vice and a cheaters bar, make sure to keep the bushing straight all the way in.


14. Install front bushing, it is quit a tight fit, but it will eventually fit if you apply the right pressure. 


15. Bolt in new ball joints (if you changed them) 


 16.  Put suspension table back in it's place starting by inserting back bushing into slot and then rotating table towards front of the car


 17. Bolt table and ball joint back in, you might need to use a little wiggle to get everything aligned back up.


18.  Lift suspension table using jack to align and screw control arm linkage bolt


19. It is strongly suggested to align car wheels to minimize un even tire wear and other problems that could occur due to misalignment. 

20. Hope all went well, and that you enjoyed this tutorial on how to repair bushings on jetta!


(This tutorial applies to all volkswagen mk4 models including Golf, Jetta, Beetle, for 1999 2000 2001 2002 2003 2004 2004 2005, Vr6 Tdi and 1.8T )

Saturday, January 19, 2013

Two simple rules that have changed my bloger life


Blog success Tips


Last few months, I've been experimenting and learned a lot about how to have a successful blog, I have invested lots of time trying diverse blogging technics. I have spent lots of time reading online to find what great blogs where made of. Ironically every thing I had learned in my beginnings, which where thought as the traditional blogging technics, I had set those aside thinking they weren't important. But, they turned out to be what made the difference, when nothing seemed to work, I wasn't getting any traffic, so  I decided to respect them.  I was thinking that maybe I could be able to find easy ways around such as blog writing service or simply RSS copy blogging (RSS to blog post), from great blogs, in my niche. I also tried simply producing good content and forgetting about SEO, back backlinking, headers, image alt text and all that stuff, and wished traffic would appear magically, for my Adsense ads to produce money without me even worrying about my blog, I was kind of willing for an autopilot money making blog. But it turned out it couldn't work because google would notice it was copied content and rank me very low in google, and if it was buying content on internet, it wasn't quality content, it hadn't that personal feel that people where looking for, there wasn't that extra mile that only I could deliver. There are so many blogs out, there that you have to go the extra mile to get noticed in, this saturated blogging universe. There are so many posts out there that can learn you Seo, back linking, etc. But I have figured out they are always missing two simple blogging rules that changed it all for me.


        1. Build a trusting bond between the you and the reader


The major guide lines that I have learned the hard way, are mainly to find a blog niche in which you are passionate, for you must not blog for money, but blog because you are passionate and normally if you succeed in doing so, money will come on it's own. Be truthful with your followers, inverts your whole personality into your blog, make it emanate from your blog, put your name everywhere you can, and always talk in your personal name. Doing so, will not only brand your name, but this will, create a trusting bond between the reader and you, which will make the difference between the one time reader, and the faithful reader. Internet has become an impersonal place and people are looking for great people to trust on. 


       2. Don't blog for money... Make great content!


I have found that the best way of making money online, is not to make content only for it to be seo friendly, trying to stack keyword over keyword, even though you have to worry about SEO, but concentrate on your content, you must always bring something new that others haven't thought of, people will stick to places where they find quality content that they can rely on. I find it difficult to understand the logic behind Adsense, if your content is only created for your Adsense ads, I you are tied down and can't build the quality content you aspire to, because you are always looking for high priced Adsense keywords. You should have all the freedom that you want to write what you want and make money based on the quality of your content, so if Adsense isn't working for you, find other ways to monatise your blog, Adsense alternatives, and keep reaching out for great readers. I hope I have missed something about Adsense, but for now, I think you shouldn't worry about high priced keywords, and if Adsense doesn't make enough money for you, be ingenious, find affiliates that will support your great content. Your content is premium to your revenues, this is a longterm sacrifice you won't regret.


Never forget you have to become a guru within your niche, don't look for short cuts, for they will only slow you down.


Tuesday, December 11, 2012

How to repair Time capsule power supply (Cheapest Method)


         If your time capsule has broke down and doesn't show any signs of life, if your time capsule has no lights, or if your time capsule does not turn on, it is most likely because the time capsule power supply is dead, or has failed, the time capsules have a heating ishue which blows the power supply after a while. So this is a tutorial on how to easily repair your time capsule, a Time capsule fix tutorial. Follow this step by step time capsule repair. To achieve this DIY, you have to have a basic skill to soldering, if you have, this tutorial should be easy for you.


1) Before starting the repair, read all of the tutorial, to be sure, you understand to will be able to do this repair, if you don't, do not hesitate to contact me by commenting this post, I will answer.

2) Before proceeding to this repair, you should let the time capsule unplugged for at least one day so that the electricity drains to minimize electrocution riskes

3) You will have to gently remove the plastic cover using a hair dryer or a heat gun, do not use harsh heat power for the plastic will dry and will tear when you peal it off. Start by heating a corner and with a knife, start bringing it up.

Time capsule repaire

Time capsule Diy

Time capsule fix


4) You can now unscrew the philipes screws and gently lift the aluminum plate, once all removed. Be carefull, there is a fan fixed to the back and wired restricting you to lift completely the back plate.

Time capsule troubleshooting

Time capsule hard drive

5) Once lifted, you can unplug the fan.

Time capsule fan


6) Before touching the electronic components, be sure to touch a metal surface, in order to discharge all the electromagnetism you retain that could be lethal to your time capsule.

7)  Locate the hard drive and unplug the sata and power supply cable.

Time capsule HD


8) Remove the foam that protects the heat sensor, on the hard drive.

Time capsule heat sensor

9) Remove the heat sensor.

10) You can now gently lift the hard drive and place it aside.

Time capsule ssd

11) Lift the power supply outlet plug.

Time capsule outlet


12) Uplug the power supply connector that connects to the electronic board

Time capsule components

13) You should now be able to gently lift and remove the power supply.


time capsule power supply

14) Place the power supply aside

15) Using a knife, (plastic knife would be the best) remove the aluminium foil that rapes the power supply

airport express power supply

Time capsule power supply


16) Using a plastic knife, remove the plastique enclosure if yours is like mine, the plastic will break very easily, but save every peace to put it back together after the repair

Time capsule power suppy troubleshooting


time capsule repair fix

17) Locate the condensers that are blown, you will notice that the end of the condensers will seem old and dirty and will be ballooned, it should be either the 6.3v 1000uf (8mm dia x 12mm de long) or the 16v 470 uf (8mm dia x 12mm de long) or the 6.3v 1500uf (8mm dia x 20mm)  x2, for this example, only the 6.3v 1000uf (8mm dia x 12mm de long) where blown.

Time capsule power supply

time capsule power supply

time capsule power supply


18) Once located, use a soldering iron to remove the blown condensers, notice the way they are positioned, for there is direction they go, the arrows should go to the same side as they where before. You can use a solder vacuum to help you unsolder.

time capsule repair tutorial

time capsule

19) Once removed, place and solder the new condensers, the arrows should be placed in the same direction as the ones you removed before, make sure your solders do not touch other solders bubbles , which would subsequently short the time capsule.

time capsule repair

20) Using a nail scissors, cut the extra wire

time capsule fix

time capsule electronics

21) Place the plastic casing back on the power supply board, use electric tape to stick all the pieces if it is chipped

time capsule enclosure

22) Put the foal back over the plastic casing

time capsule enclosure

23) Replace the power supply in the time capsule

inside time capsule

24) Plug the cable to the time capsule board

apple time capsule fix tutorial

25) Replug the fan to the board.

apple time capsule ventilation


26) Close the time capsule without the hard drive

27) Screw two or three screws for the metal plate to hold on


time capsule over heat


28) Place the time capsule on the plastic cover

time capsule over heat problem

29) Plug the time capsule to the power outlet without the hard drive in the time capsule for testing porpose, for if the repair isn't done the right way, it could short the hard drive, therefore definitively breaking the  hard drive and losing all of your data.

30) If you get a flashing yellow light …  you have succeeded 

time capsule yellow light

31) Simply open the time capsule again

apple time capsule enclosure


32) Place and plug the hard drive
apple time capsule troubleshooting heat

time capsule Hd replacement

33) Stick to the hard drive the heat sensor, with the foam protector over it.

time capsule heat sensor

time capsule heat sensor

34) Close the time capsule, screw all of the screws back


time capsule fix step by step


35) Place the back cover to avoid shortage

time capsule tutorial


36) Last step is facultative but highly suggested, this step would avoid you for doing this repair a second time because this faillure is due to a faulty ventilation in the time capsule, you may have noticed that the time capsule is almost sealed, the fan inside only circulate the heat inside the time capsule. The ultimate repair would be to do a time capsule fan mod, you can find the steps here